Operation Cung Chung II
5 September 1970
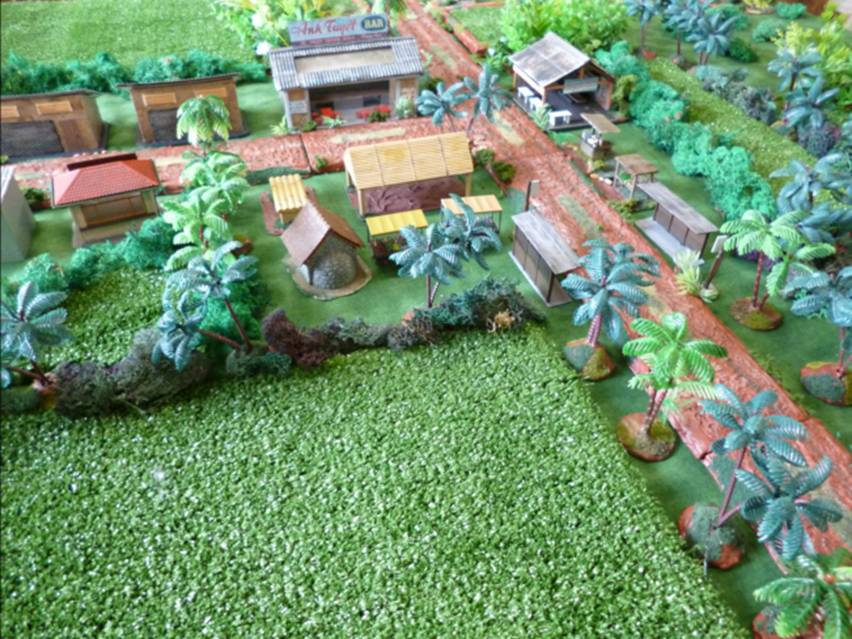
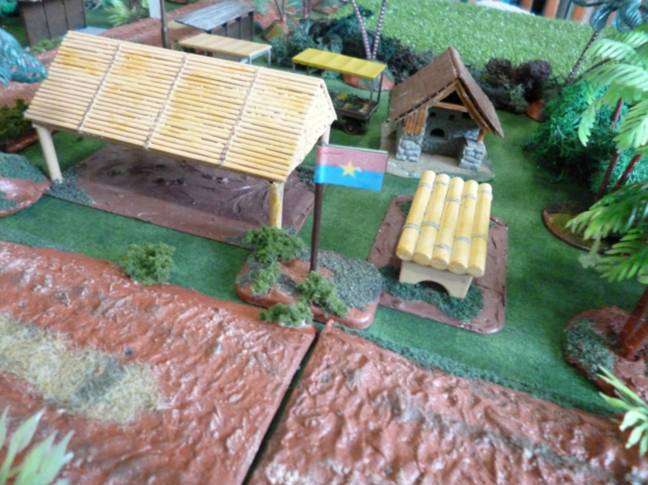
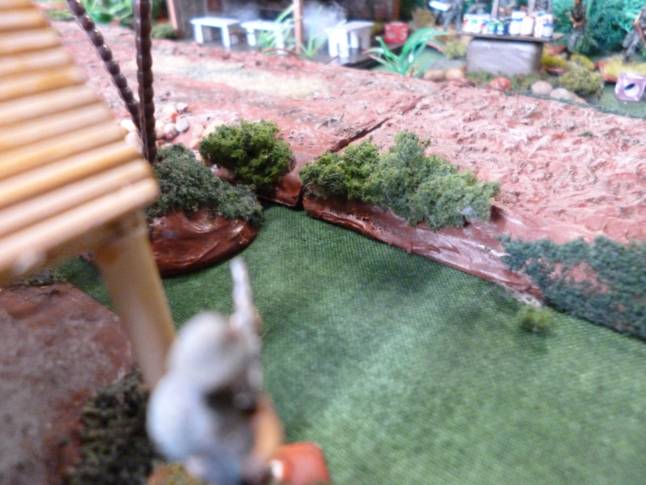
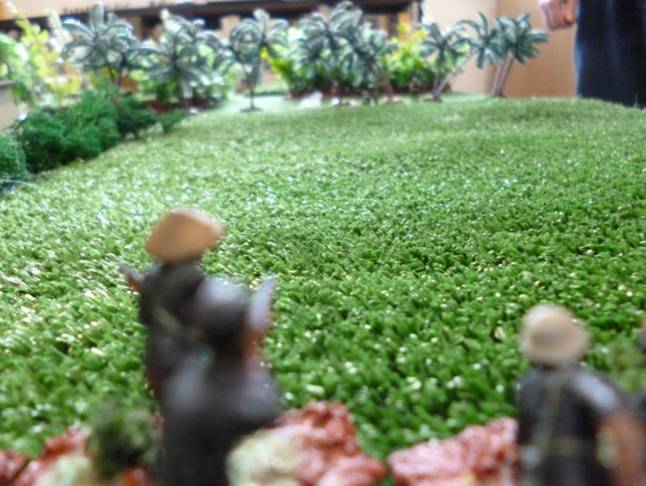
This crossroads in the depths of Phước Tuy
Province have been reported as being occupied by VC.
It might have something to do with the two bars
located there, and the market place.
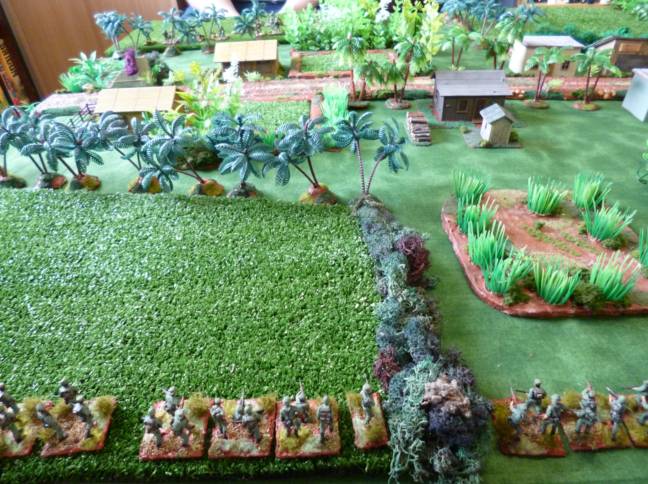
As part of a provincial sweep and clear operation
(Operation already Cung Chung II) that is under way, a combined Free World
force is sent in to clear the crossroads.
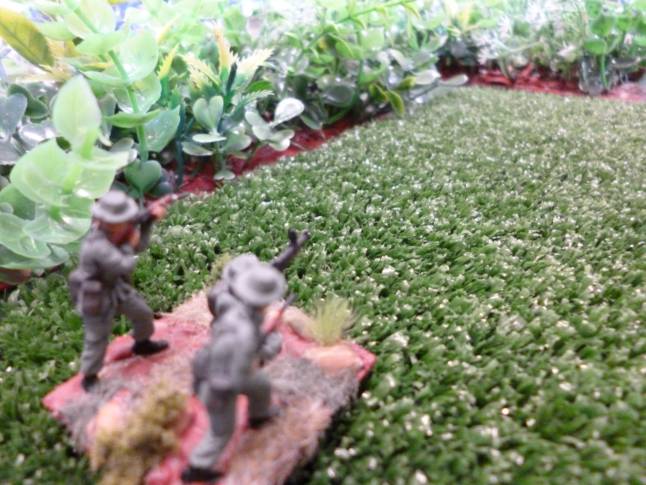
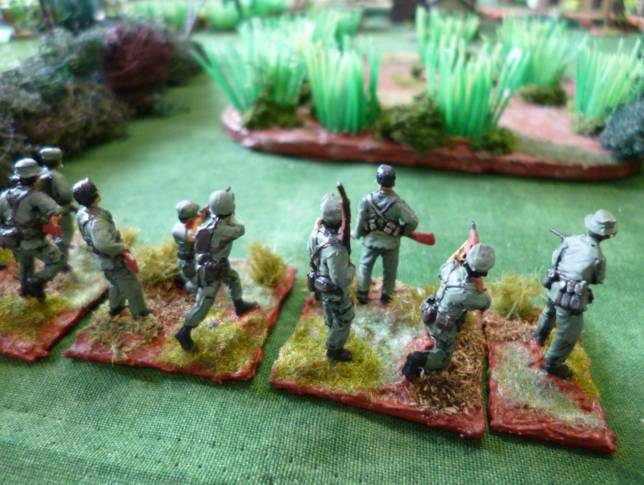
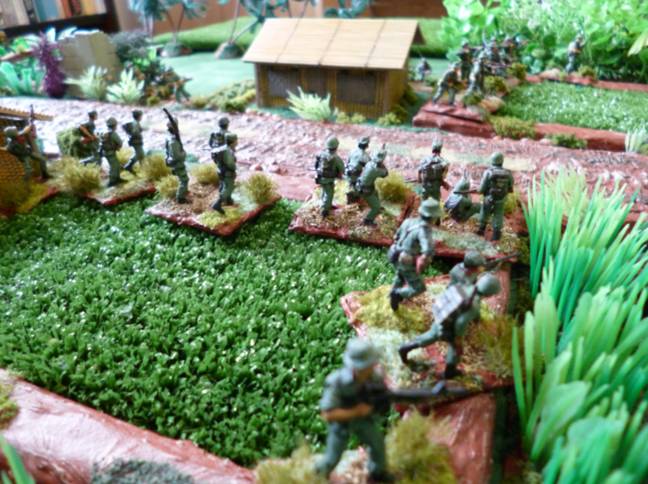
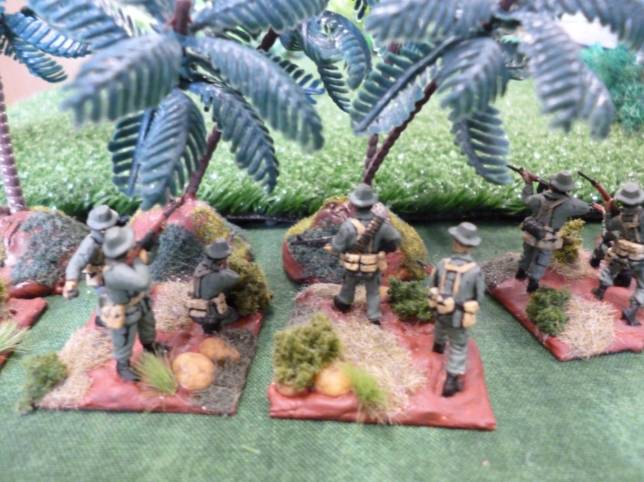
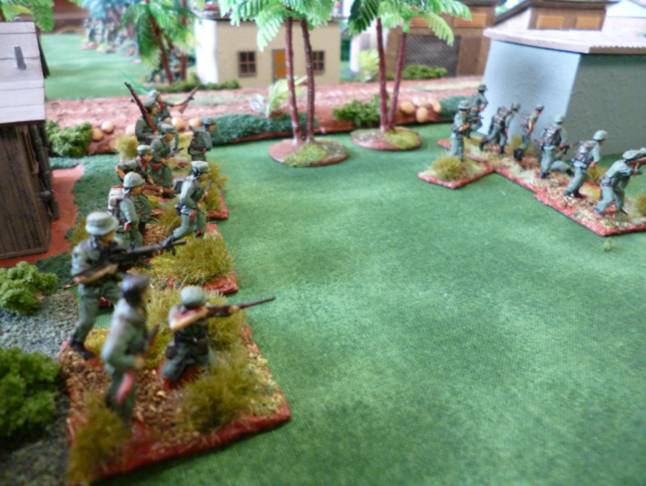
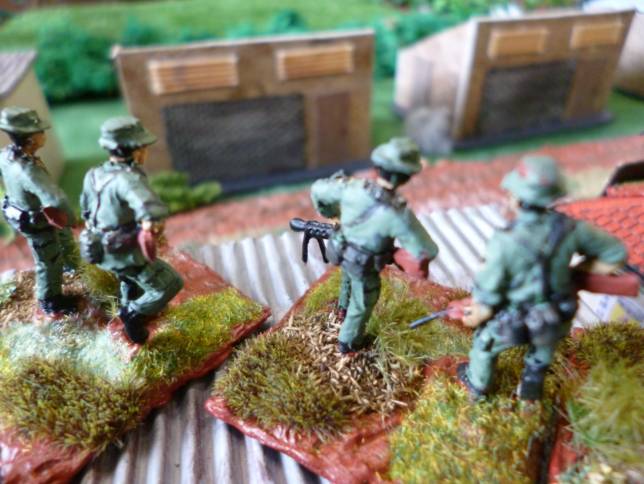
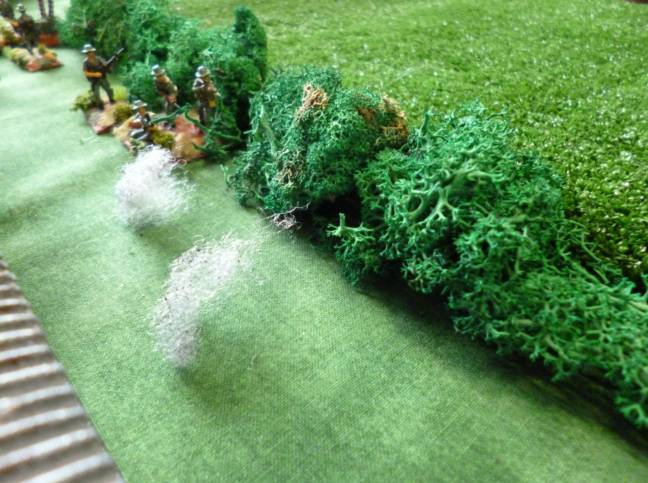
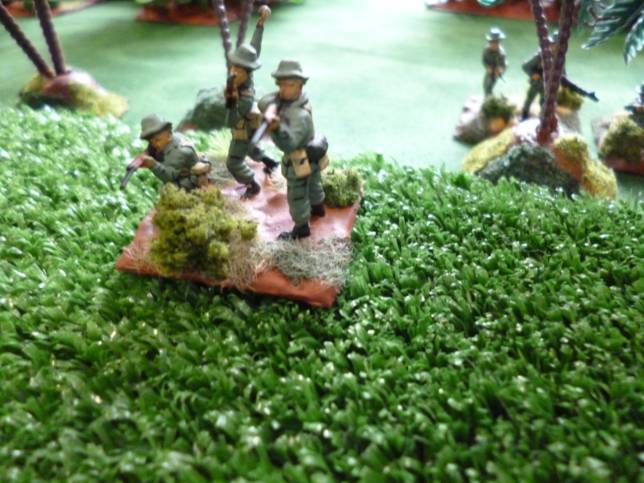
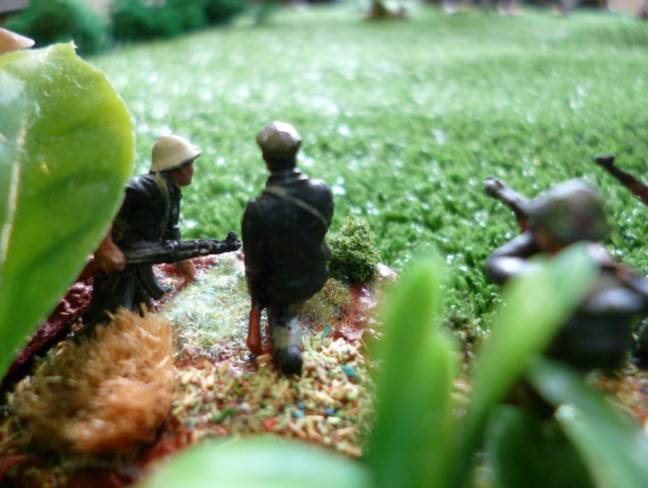
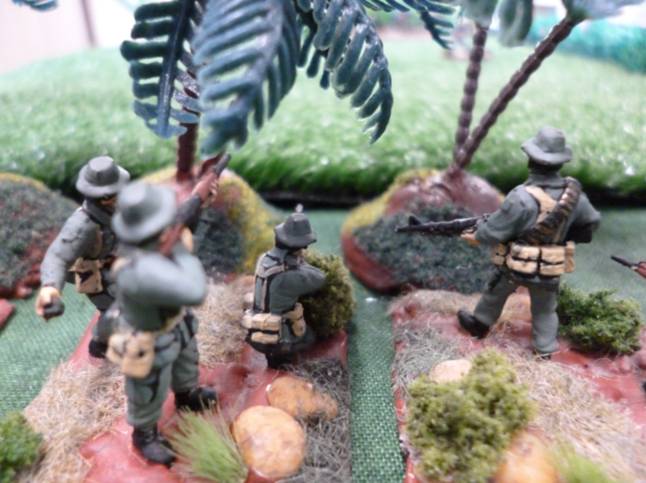
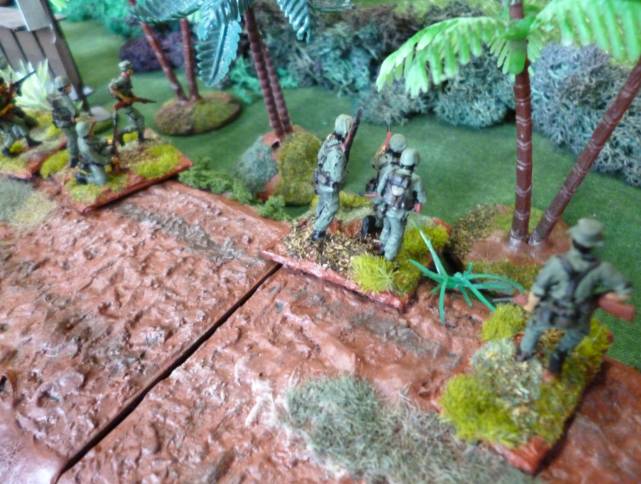
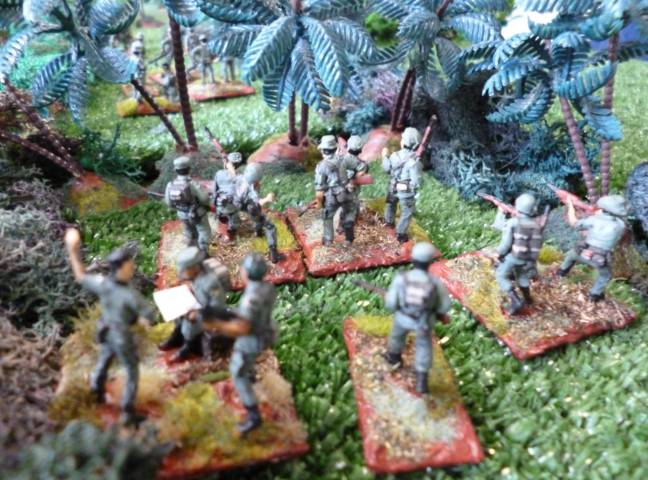
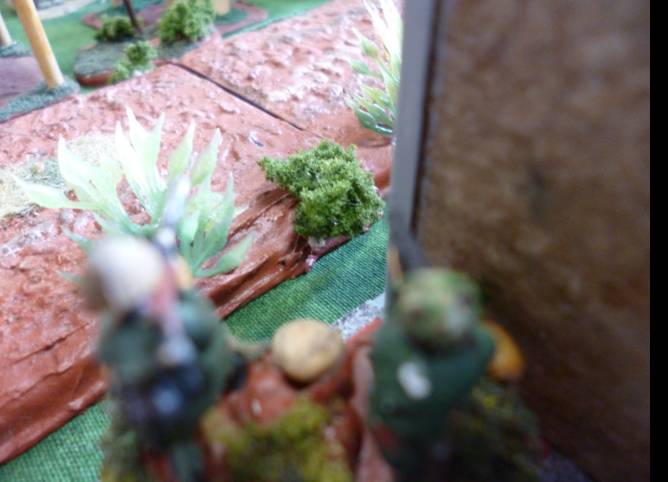
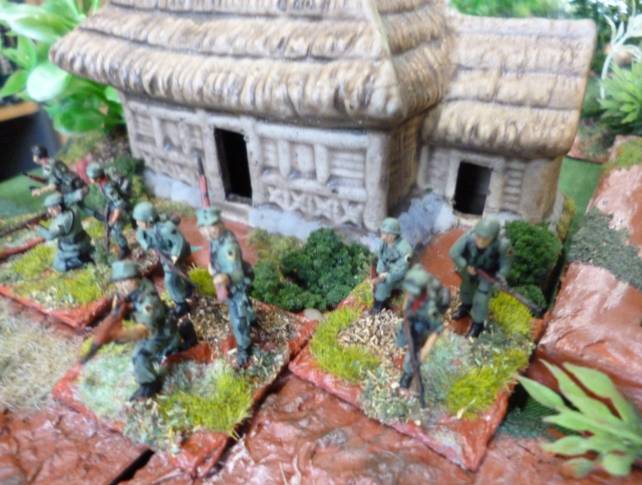
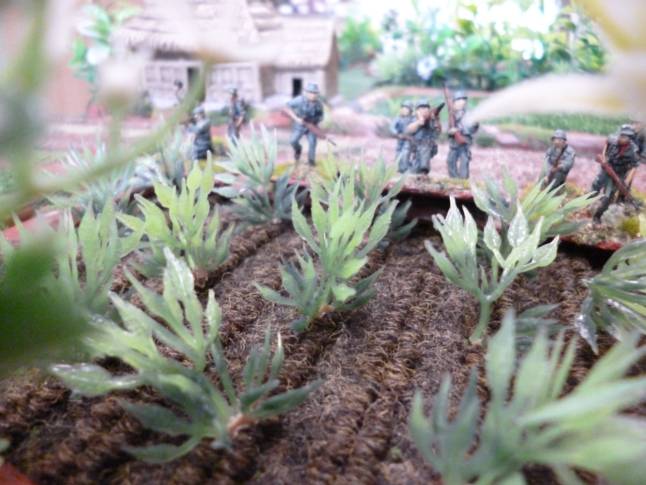
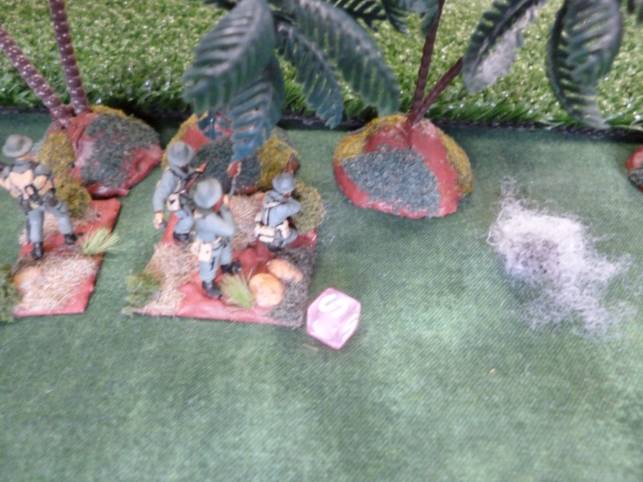
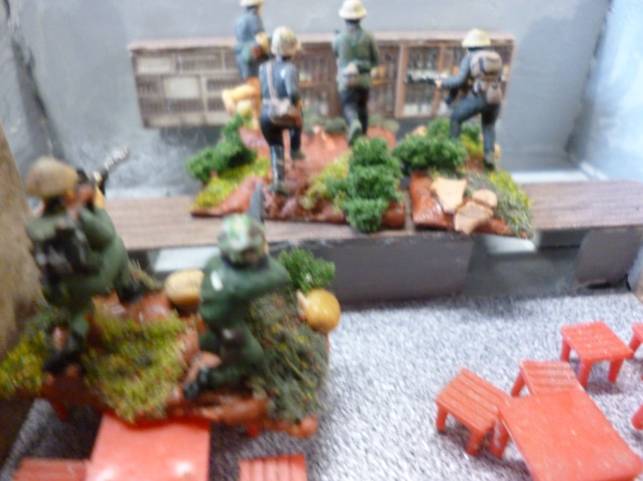
A New Zealand squad stealthily reconnoiters the
outskirts of the ville.
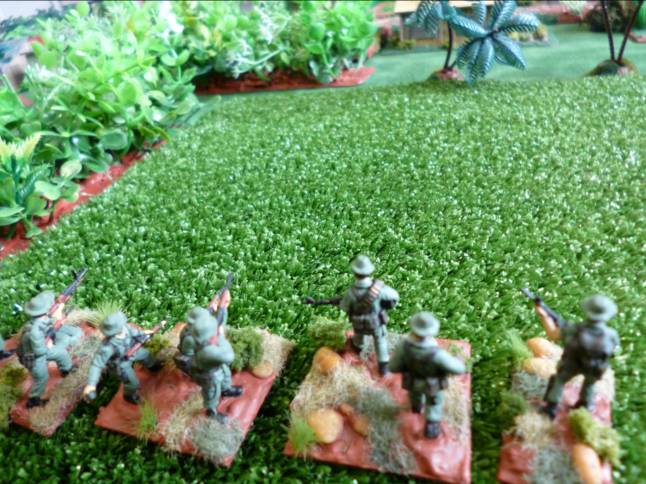
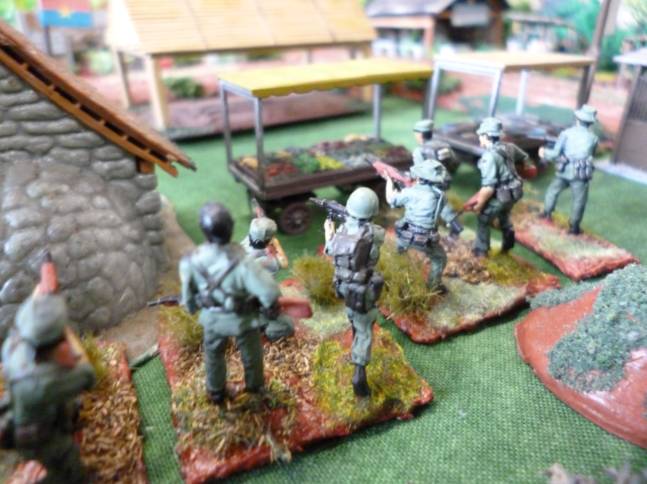
Then comes the lead section, and finally a whole
platoon of NZ infantry from 2 RAR/NZ Battalion are closing in on the ville.
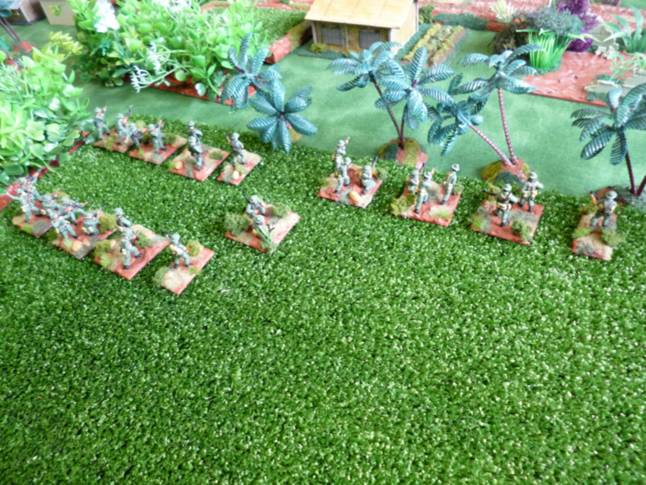
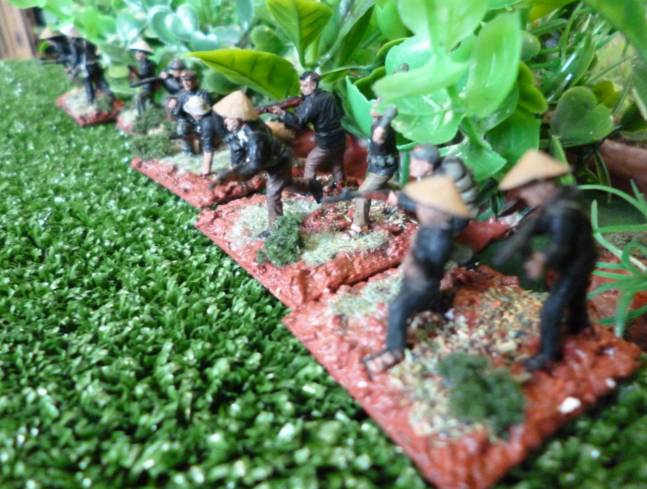
They are not operating alone. Across the road a South
Vietnamese Regional Forces company is also cautiously approaching the ville,
wary or ambushes and booby traps.
Their plan is to meet up with the New Zealanders at
the road running north from the ville after they have swept clear the
surrounding area.
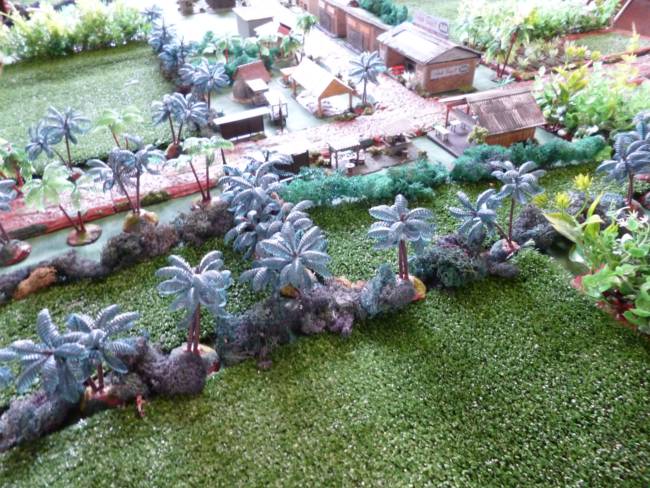
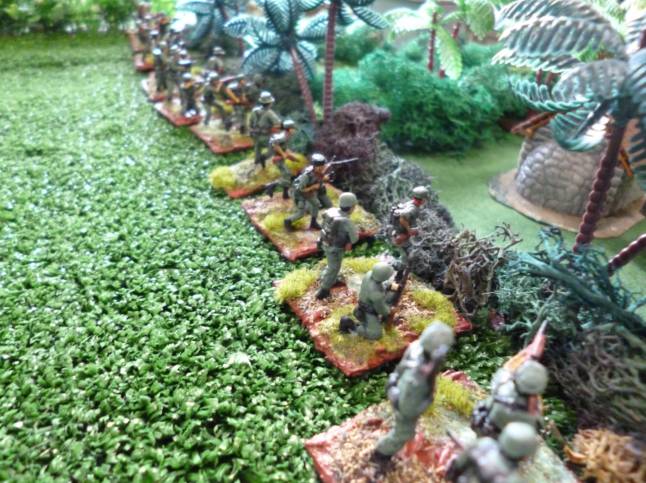
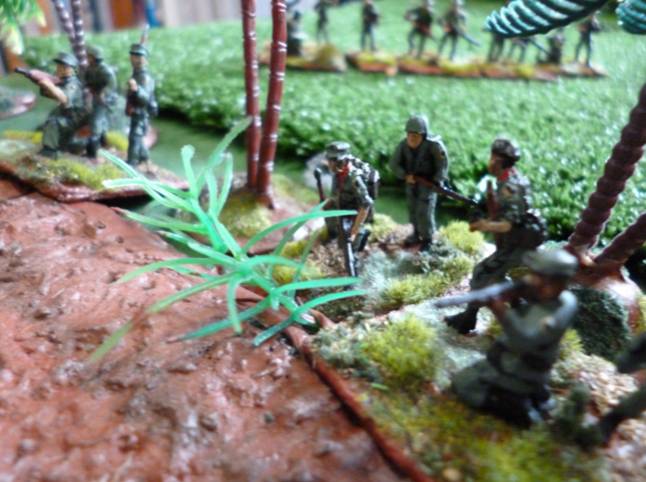
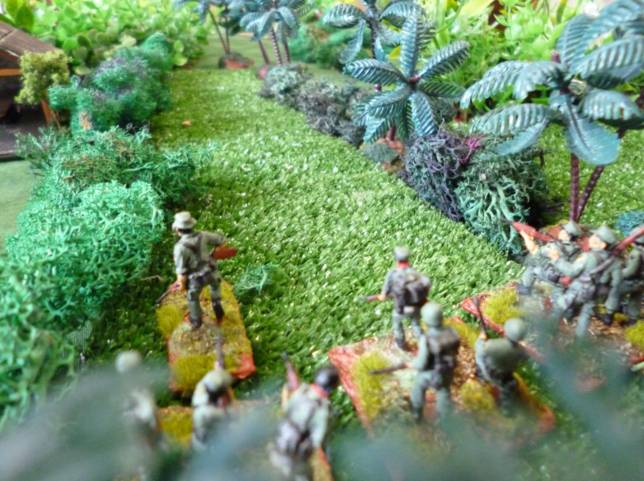
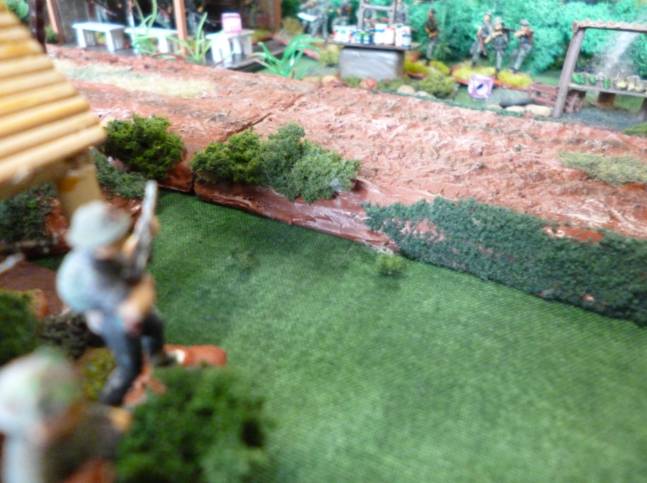
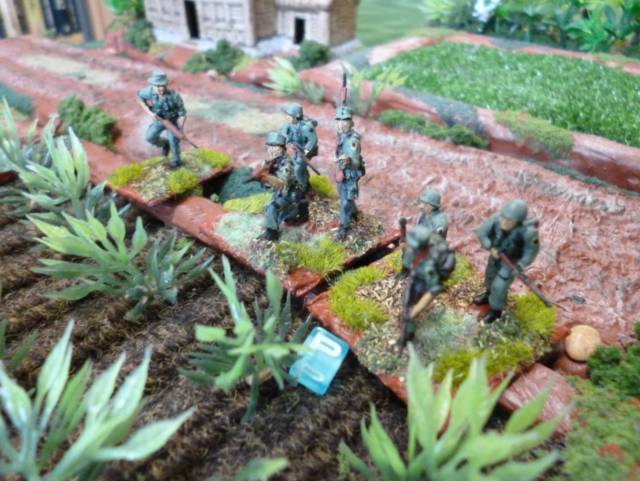
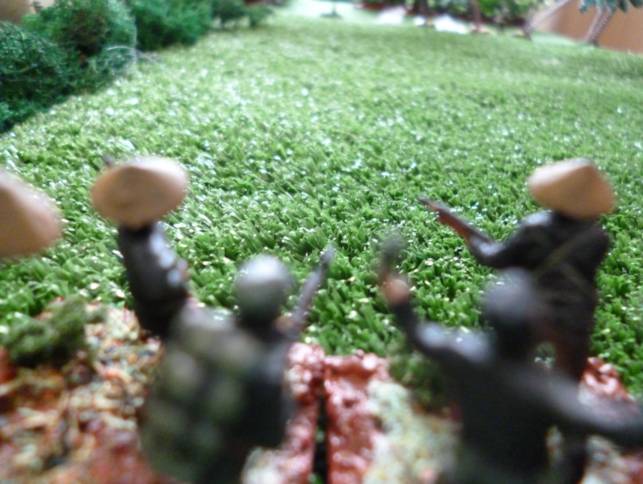
An NZ section leaves the rice paddy the platoon is in
and advances towards the road.
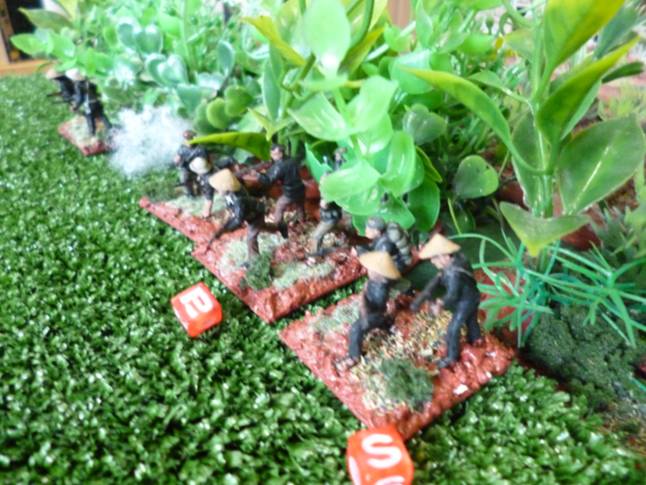
The Regional Forces company also makes steady progress
on the other side of the road. There is no sign of any VC.
Closing in on the road, the two forces manage to make
visual contact without any friendly fire incidents.
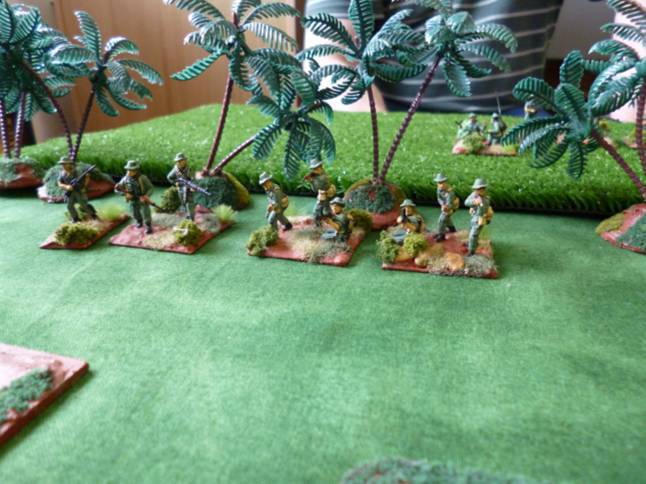
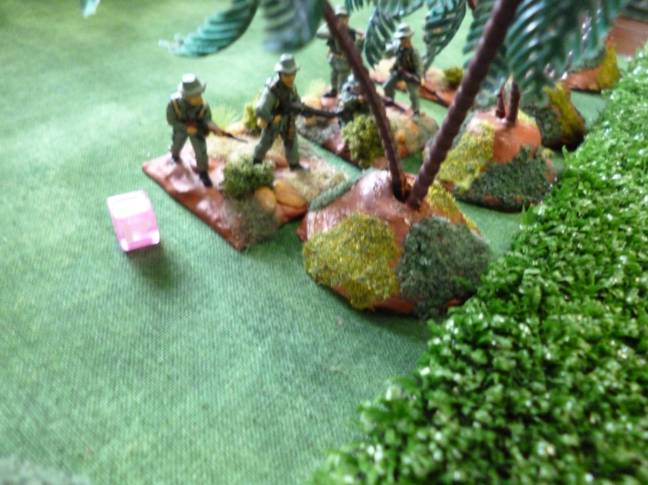
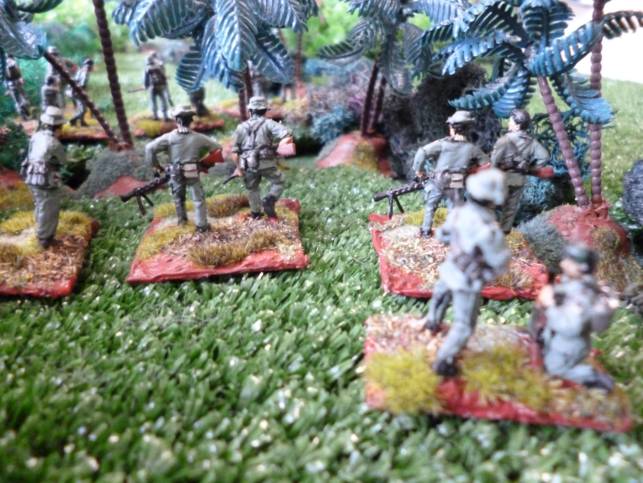
Another NZ platoon advances parallel to the road,
heading towards the ville.
On the other side of the road, an RF platoon also
starts heading towards the ville.
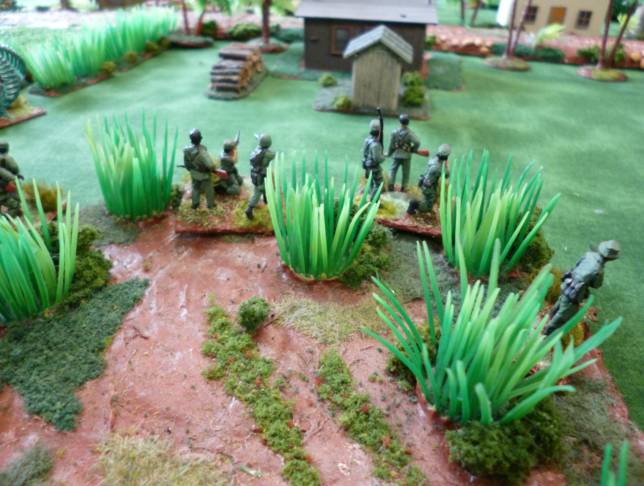
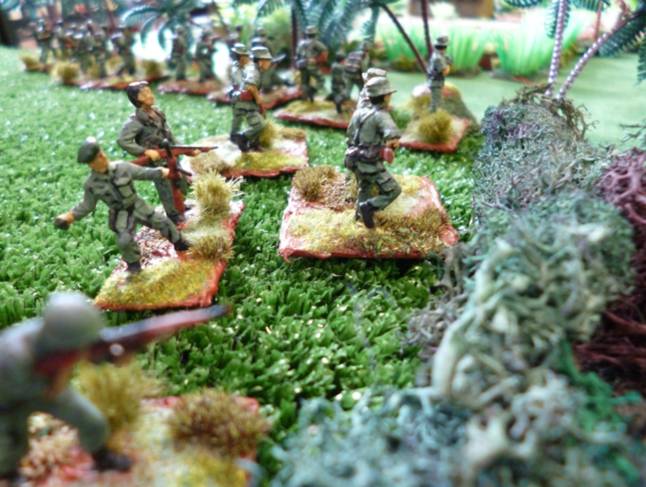
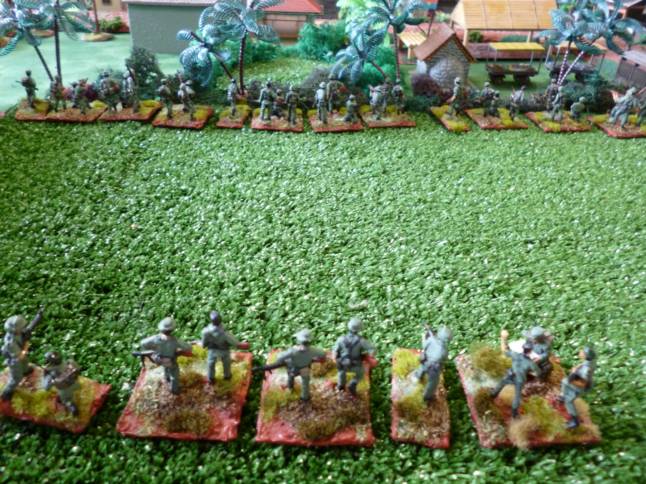
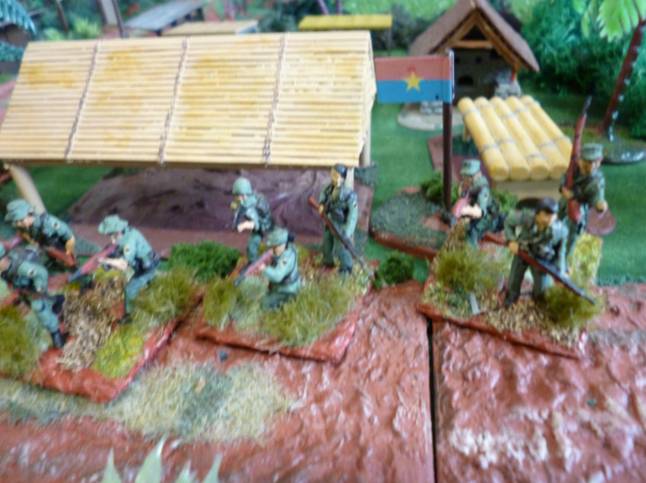
They enter the ville, but there is still no sign of
Charlie.
The New Zealanders are not seeing any signs of enemy
forces either.

The reach the last paddy field before the T-shaped
crossroads, wondering if they have been given bad intel.
Meanwhile, an RF platoon has done a flanking move, and
is advancing on the market place from the west.
Another RF platoon waits to their rear, ready to
respond if needed.
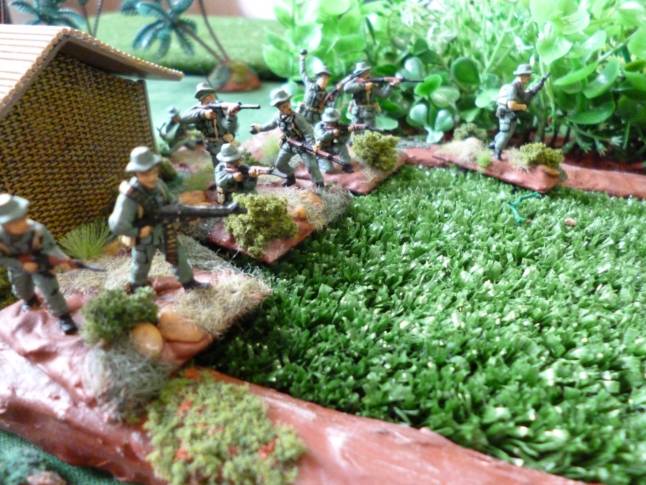
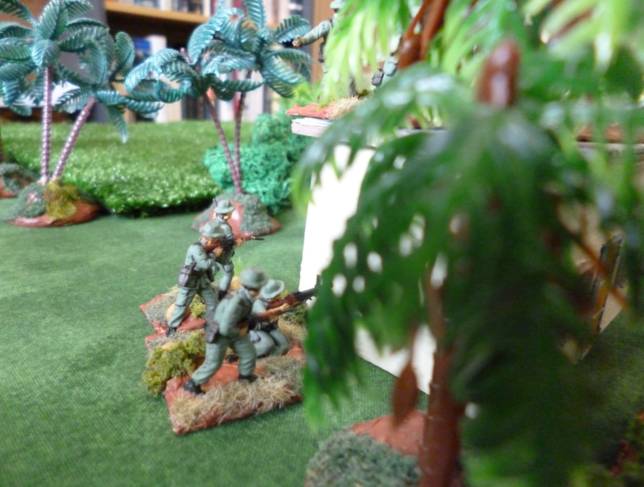
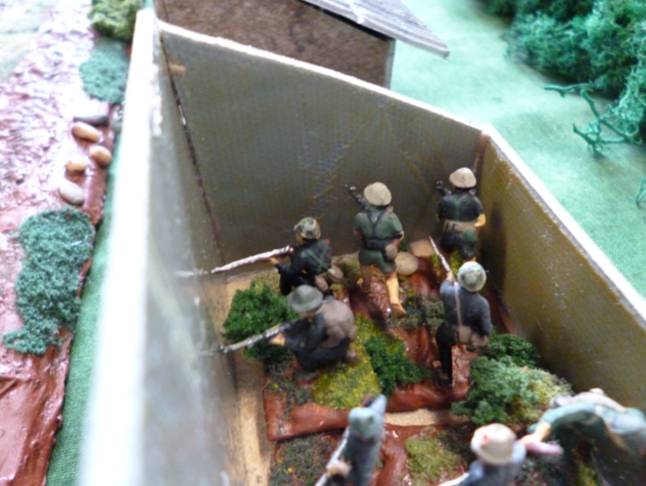
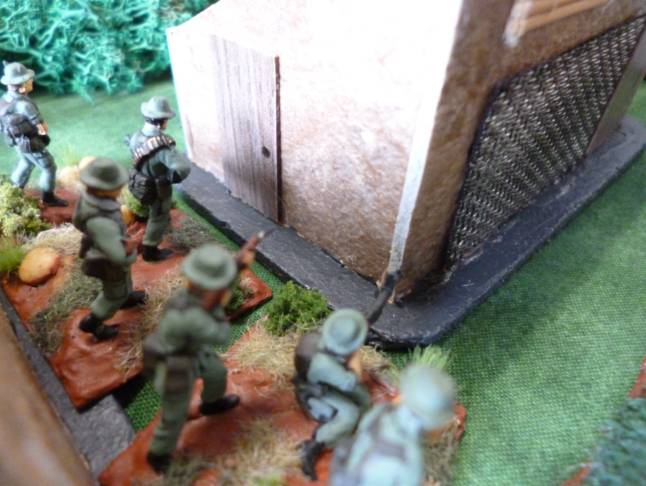
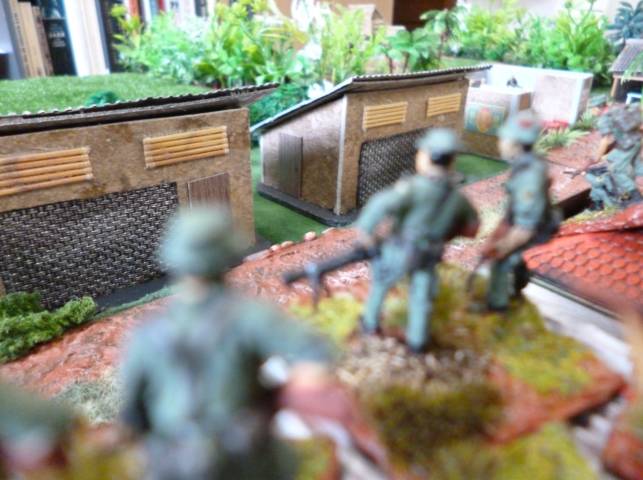
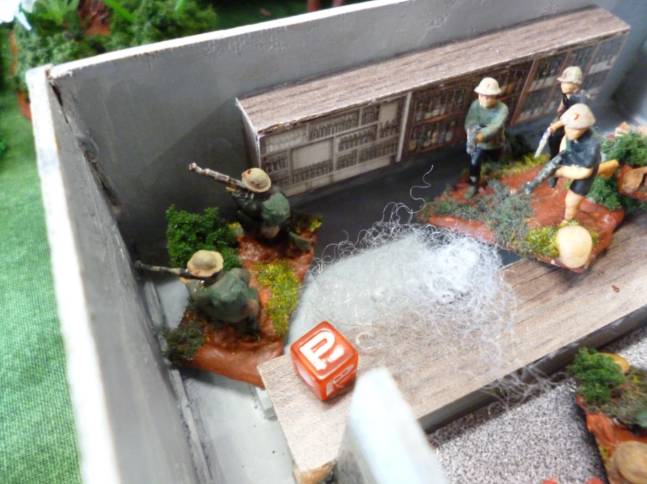
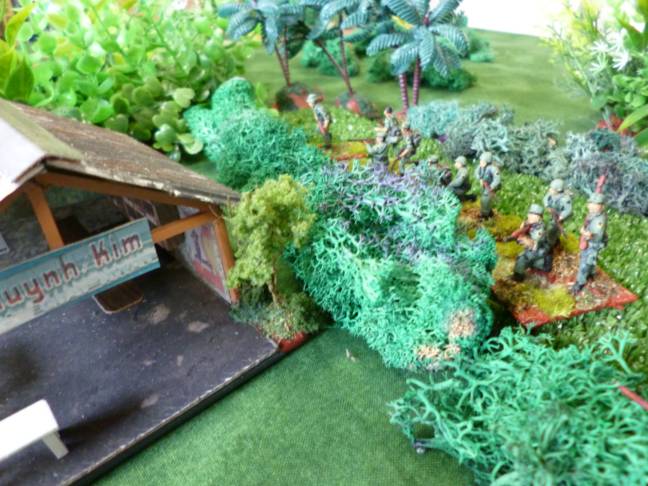
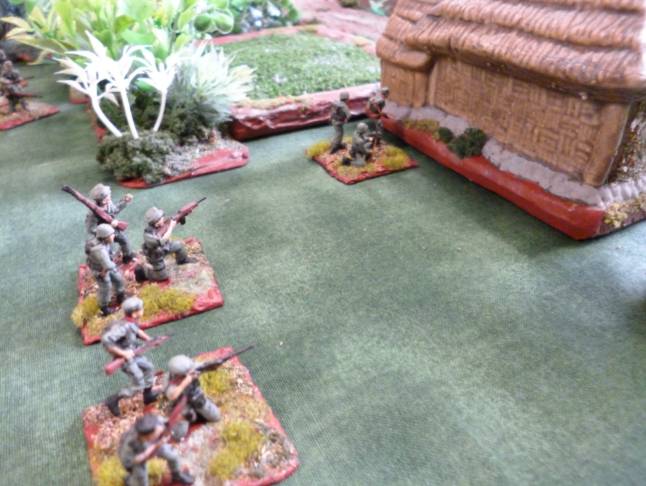
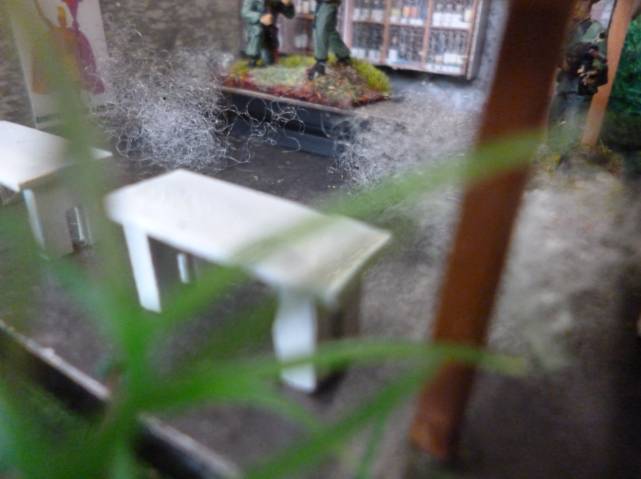
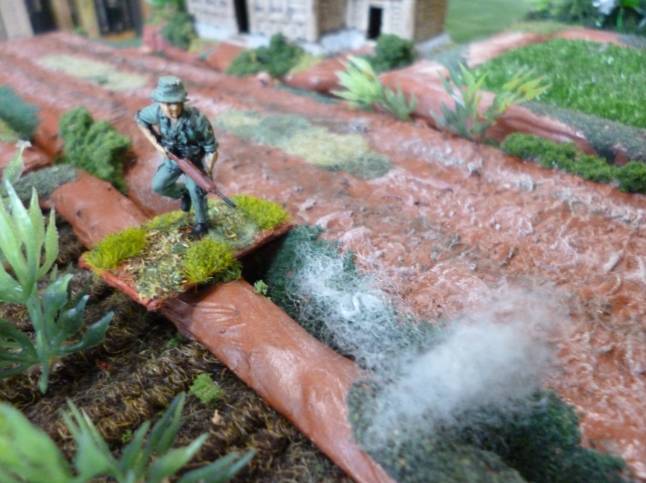
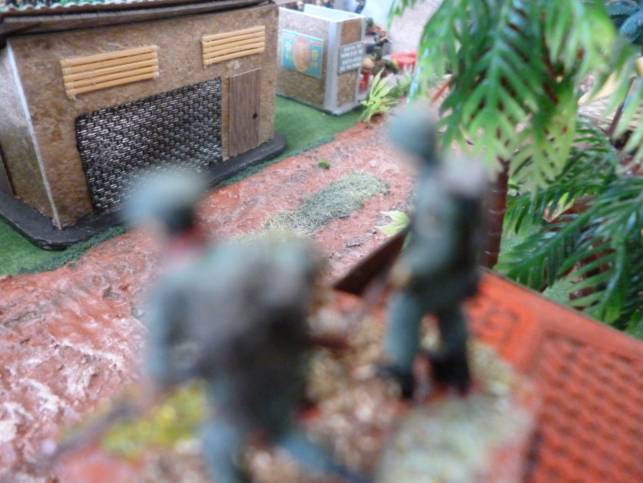
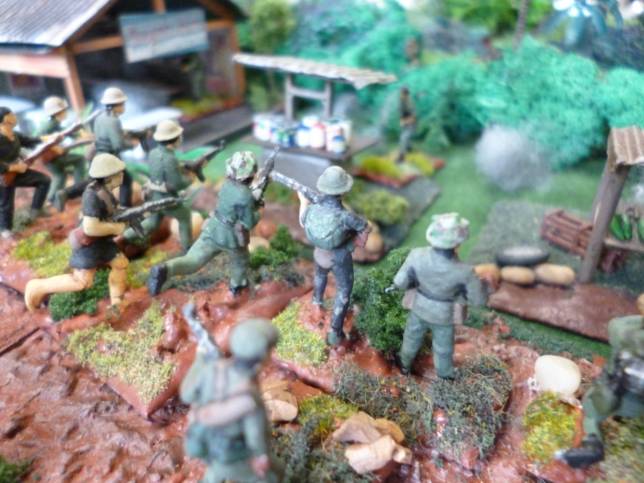
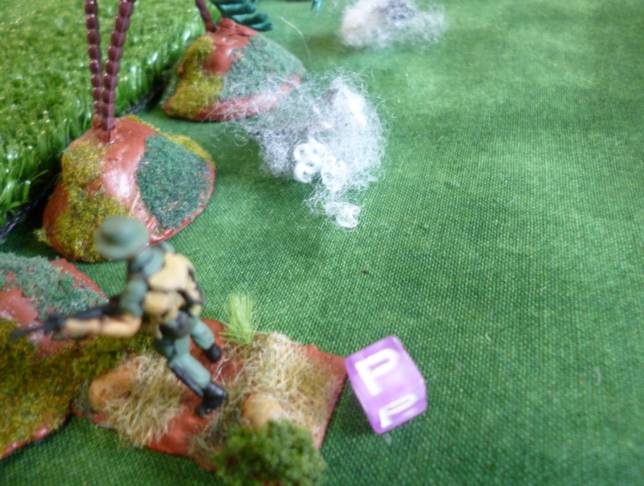
Some New Zealanders decide to enter a house through
the back to see if they can get a view of an enemy in the vicinity of the
crossroads.
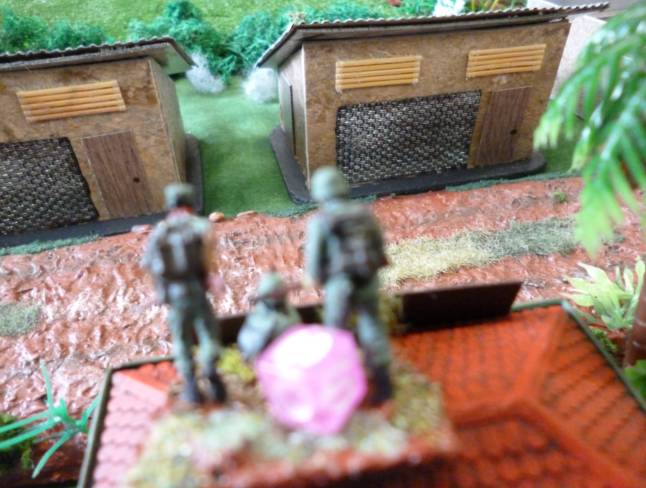
At the same time, an RF platoon is clearing the houses
on the other side of the road.
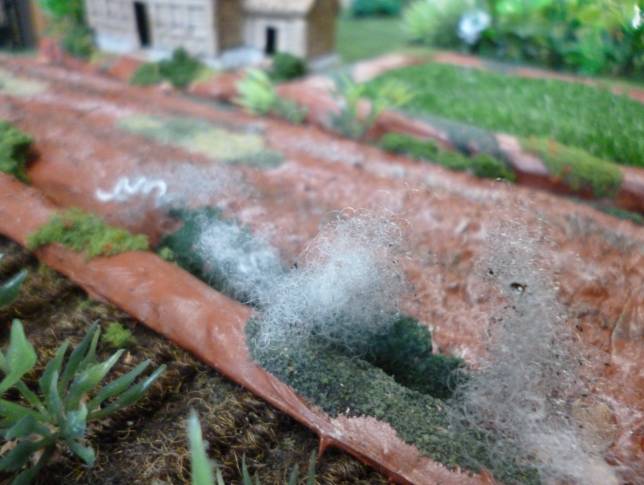
Having searched the first house and found nothing, the
New Zealanders send a squad in to search the next one, expecting it too to be
empty.

They never reach it: heavy fire from inside the
building cuts them down.
The VC then turn to fire on remainder of the NZ
section in the building they just occupied, pinning them down.
RF machine gunners across the road rake the building
the VC are in.
They manage to suppress one of the VC stands. VC
return fire is ineffective. Soon, the building is riddled with .35 calibre
holes and VC are dying in swift succession.
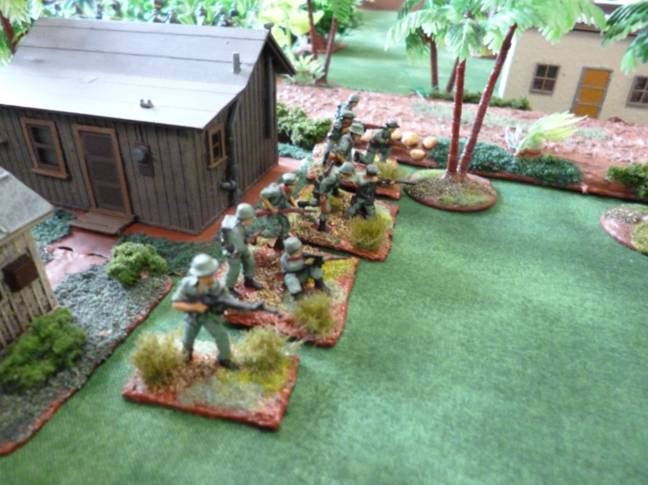
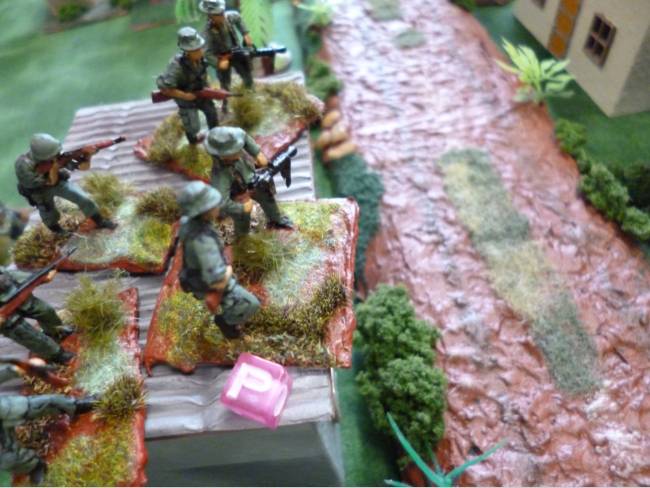
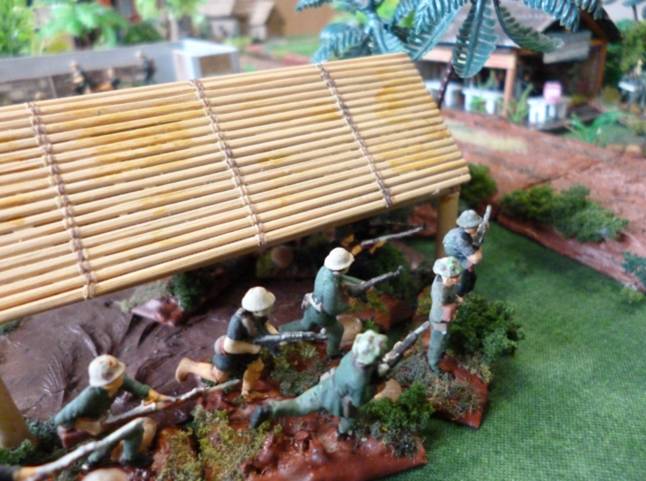
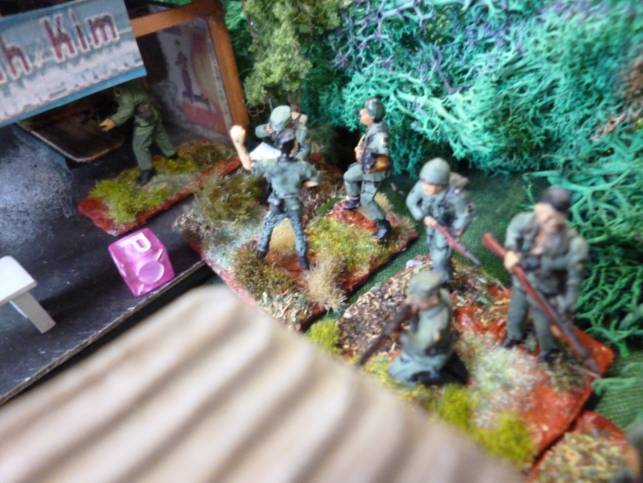
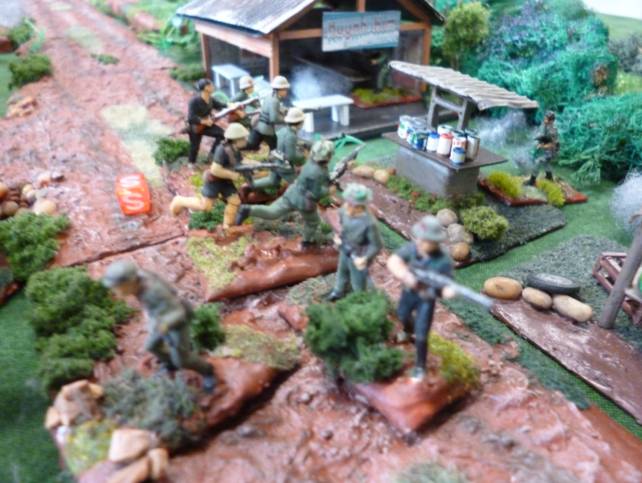
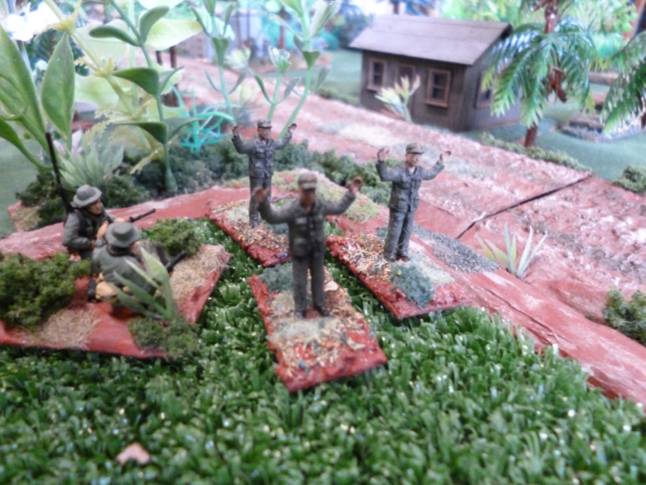
NZ infantry assault the house and take the remaining 3
VC prisoner.
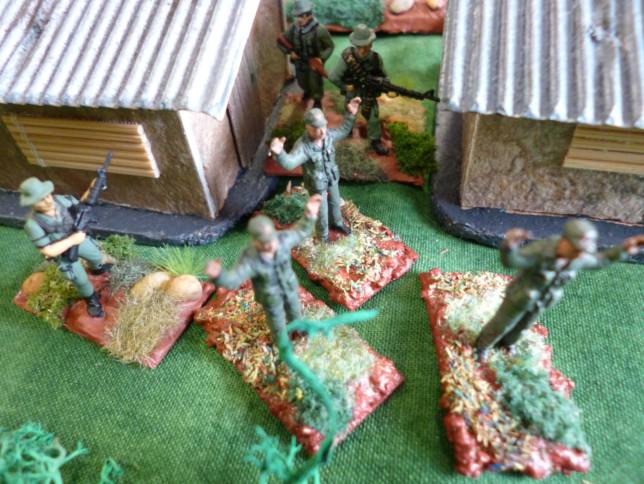
While the prisoners are being marched back to the
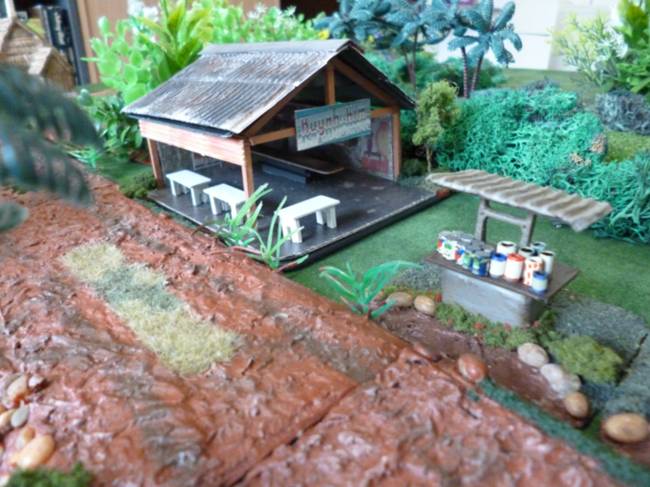
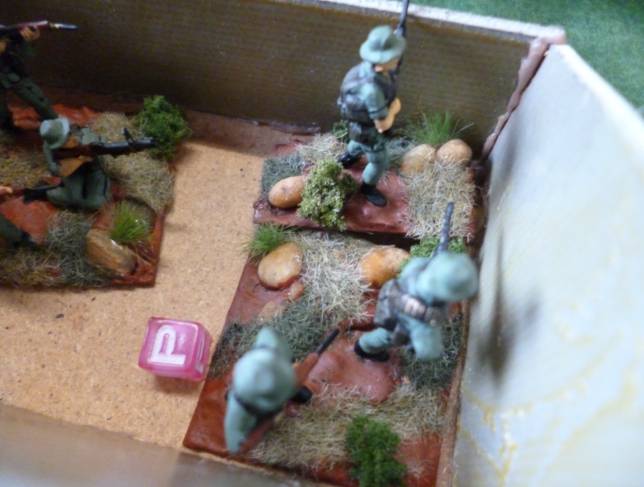
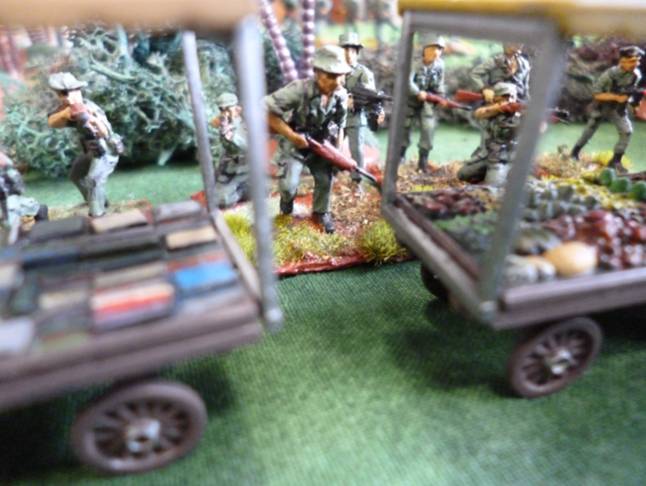
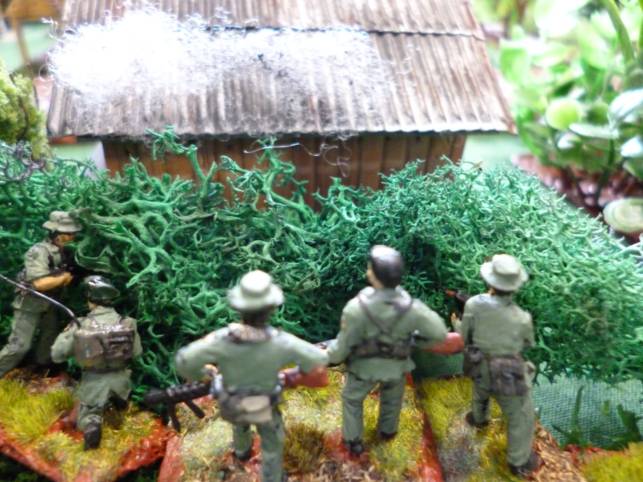
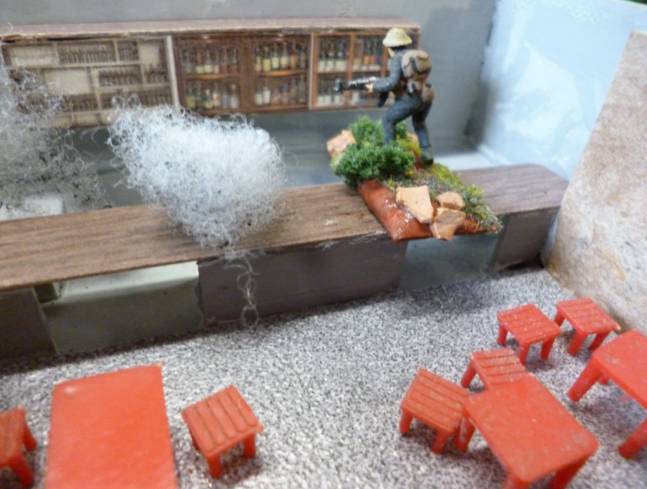
platoon commander, another section moves forward.
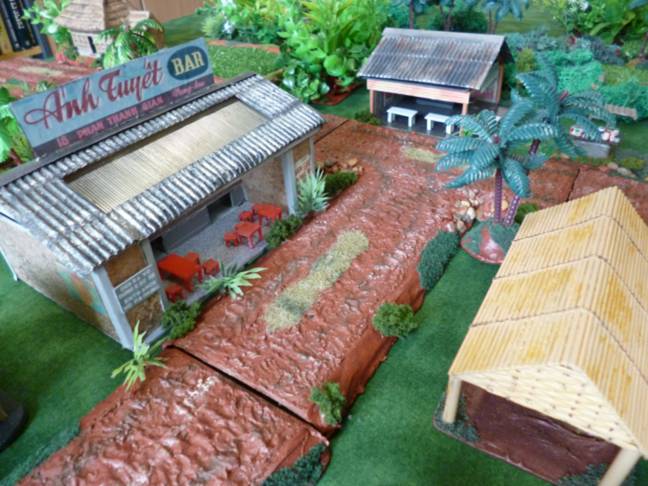
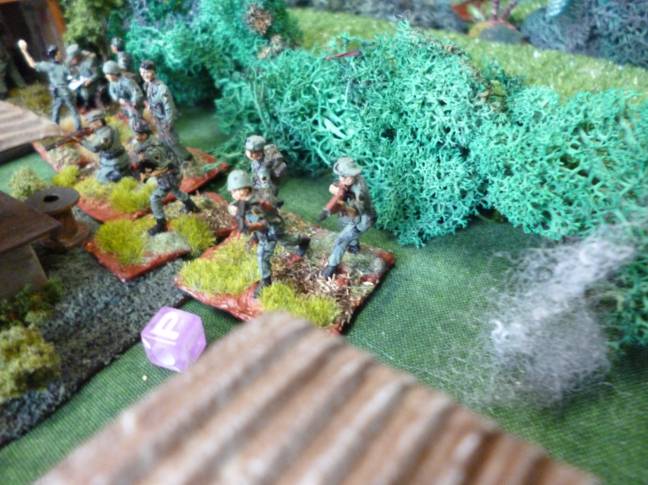
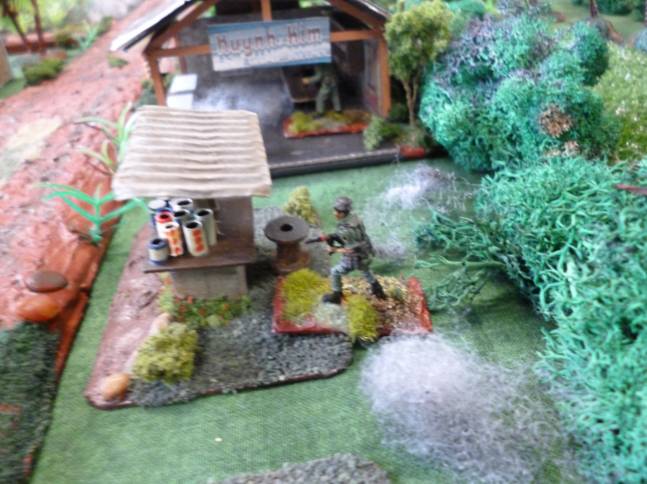
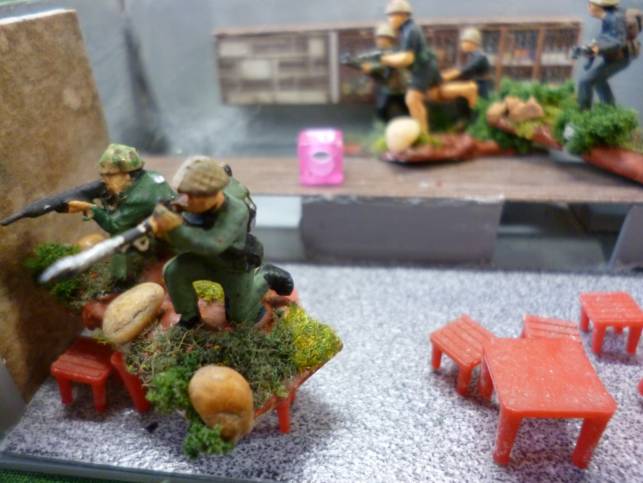
They are met with heavy VC fire from the bar at the
crossroads.
Most of the NZ squad are killed in a hail of AK-47,
rifle, LMG and RPG fire.
The RF machine gunners down the way open up on the bar
from across the road, but their fire is ineffectual.
The NZ section is all but wiped out.
Then the VC shift fire towards the RF troops and start
pinning them down.
Undeterred, the RF machine gunners keep firing at the
bar, causing several VC casualties.
The VC return fire and sweep the roof clear of all the
RF troops on it.
They also pin down the RF stand on the roof of the
adjacent building.
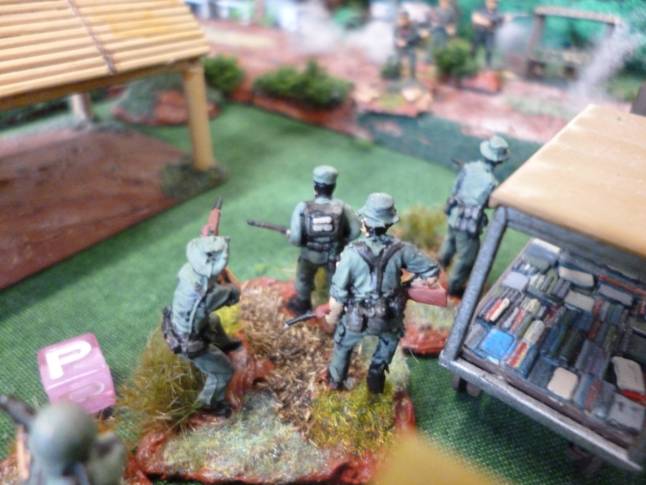
The NZ platoon takes the oppportunity to regroup under
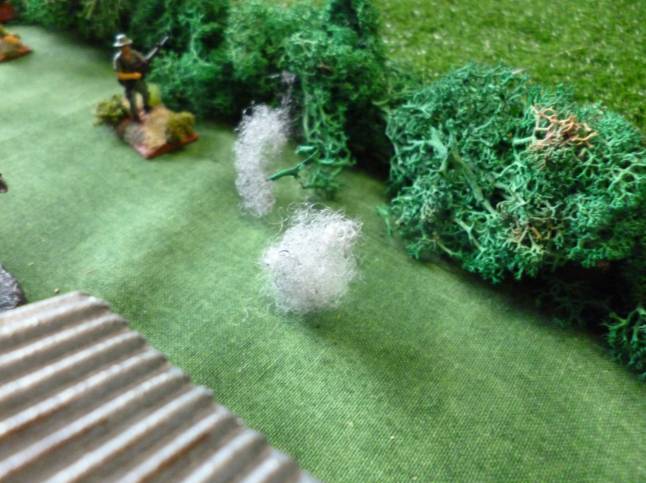
cover on the edge of an adjacent rice paddy.

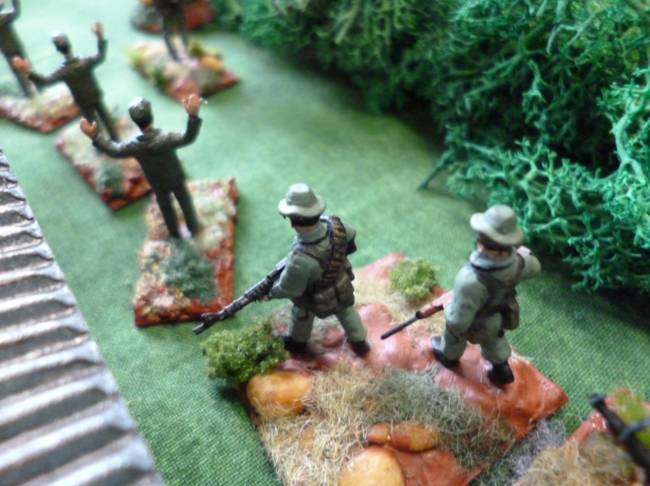
Then they send some men forward to reconnoiter the
rice paddy, as a prelude to getting around behind the bar and taking it from
behind.
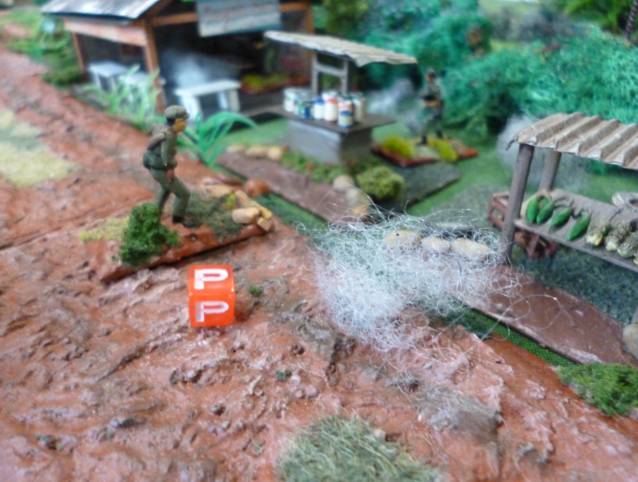
Unfortunately, they are being watched by the VC
commander from the far end of the field.
He orders his squad to open fire on the NZ scouts.
The NZers under cover also start receiving fire and
some of them get pinned down.
They return fire and start causing serious VC
casualties.
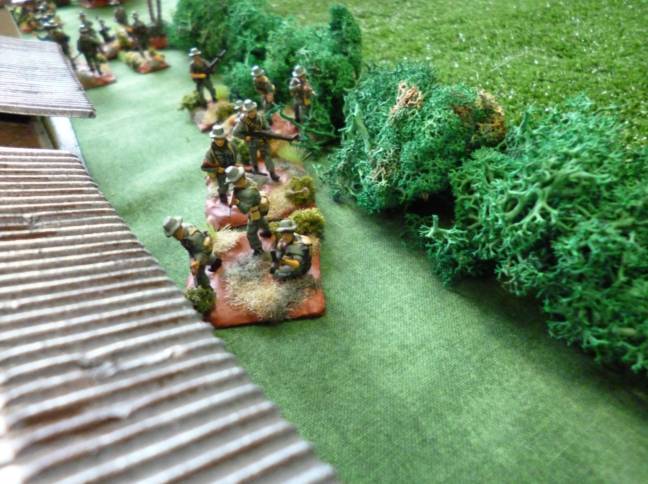
Meanwhile, the RF forces are advancing through the
market place, closing in on the bar from the other side of the road.
Another RF platoon is outflanking the VC detected in
the bar by crossing the road that forms the top of the T-shaped intersection,
out of view from them.
Under cover, they then work their way around to the
second bar, across the road from the one where the VC are.
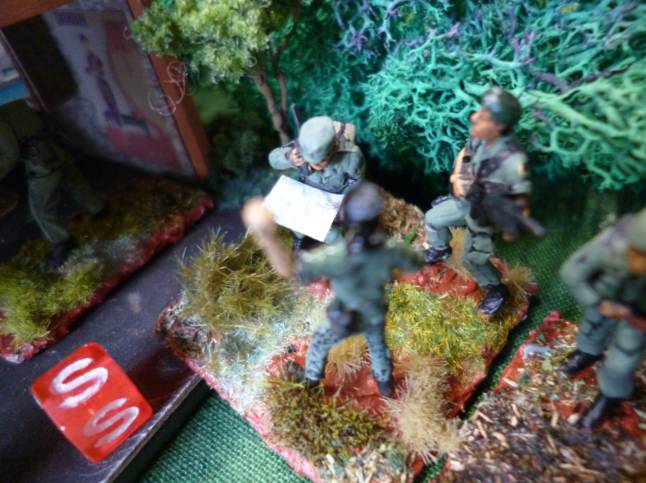
Hearing from his US advisor over the radio that the
New Zealanders are stonewalled, the RF company commander decides to order an
assault from the VC rear.
An RF squad is also sent out to sneak up on the VC HQ
unit that has held up the NZ platoon.
Back up the road, an RF squad near the market place
does recon by fire into an adjacent building.
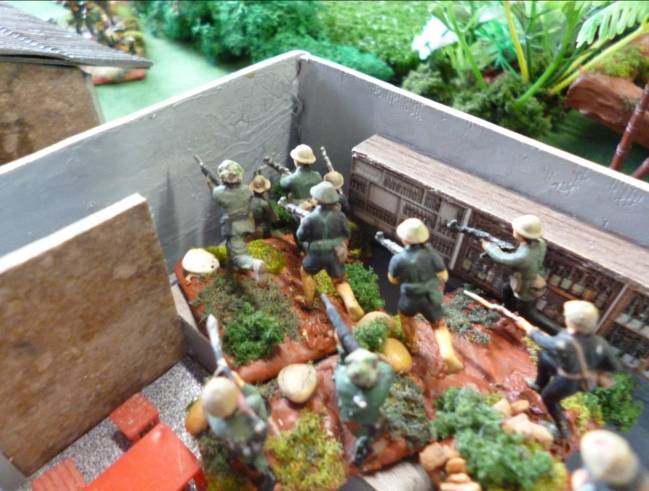
With machine gun teams setting up in the second bar,
across the intersection from the one with the VC are, the net has been
tightened. The VC are now surrounded.
The VC in the bar are aware of movement in the market
place, but do not have line of sight.
The RF troops there are just waiting for the order to
move in.
Other RF troops are also waiting for the order to
engage along the roadside at the top of the T-shaped intersection.

Suddenly, more VC reveal themselves and open fire at
these RF troops, as a preliminary to charging them.
It’s a gamble for the VC commander, but it pays off.
The inexperienced RF troops are caught flat-footed and take casualties.
Then the VC squad’s machine gunner lays waste to the
RF MG teams in the bar across the intersection.
The RF commander is reduced to running around trying
to rally his troops.
The RF squad sent around to hit the VC HQ unit, by now
has searched the hooch and are now crossing the road, coming up behind it,
sight unseen.
Their advance does not go unnoticed however, and the
VC commander gives the order to open fire. The RF squad starts losing men.
Soon the squad leader is the only one left alive, and
he is ducking for cover.
Not fast enough…
Things are turning nasty for the RF company commander.
He has been spotted by the VC in the market place and now he is the target of
LMG fire.
The VC machine gunner kills the RF commander, his
radio man and the US advisor, and then begins mowing down their support squad
too.
A clean sweep is made of the bar occupied by the RF
troops too, as crossfire pours in from the other VC unit in the bar across the
road.
Meanwhile, the VC commander has the New Zealand
platoon keeping their heads down at the far end of the paddy field.
The New Zealanders are losing men to sweeping VC fire.
In the ville, RF troops on a rooftop down the road
start opening fire on the VC-held bar.
A firefight with the VC there begins.
Having wiped out most of the RF troops supposed to be
blocking their rear, the VC in the market place charge what is left of the RF
line there.
It is a fighting withdrawal. Some of the VC have to
turn around to deal with RF troops firing at them from the market place.

Caught in the open, VC start falling.
Some RF troops are pinned down, but they keep firing.
The VC squad is wiped out apart from its squad leader,
who is captured.
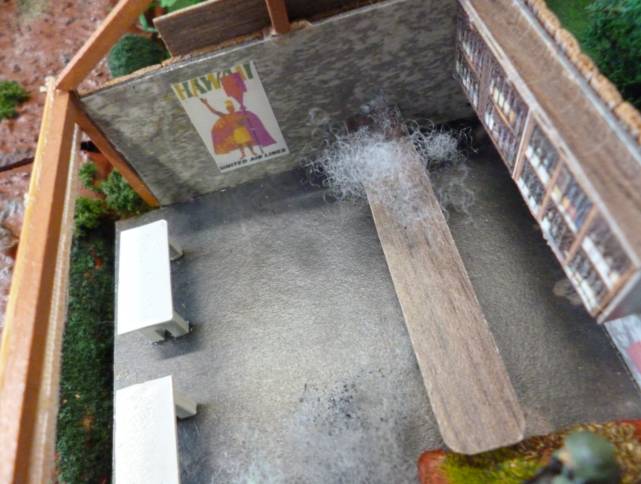
The VC in the bar who have caused so much trouble
decide to bug out through a hole behind the bar.
They get cut down by RF fire from the market place
across the road.
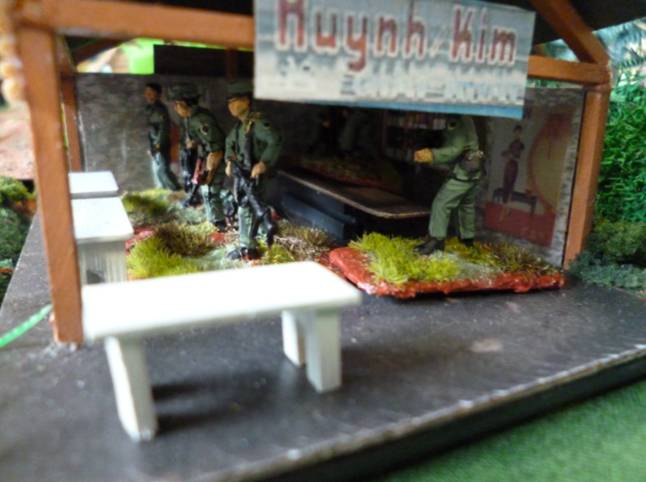
RF troops then move forward to occupy the bar.
The VC commander, aware that his flank has crumbled,
has one last go at the NZ platoon, causing more casualties.
Then the VC commander and his squad slip away, sight
unseen, eluding their pursuers.
So the combined NZ/RVN force succeeded in clearing the
crossroads, and took several prisoners….
But the butcher’s bill is high. Most of the NZ platoon
was lost, along with the RF commander, his US advisor, and a platoon’s worth of
RF troops.
The RF commander’s maneouvring was well executed but
he had command and control problems due to his troops being green. The NZ
commander on the other hand, although he had professional soldiers, he was too
cocky by half, and paid for it dearly. The Free World forces managed to
liberate two bars and clear a crossroads in the back of beyond, but paid a high
price for it.
© W.S. McCallum 4 March 2022


Web site © Wayne Stuart McCallum 2003-2022